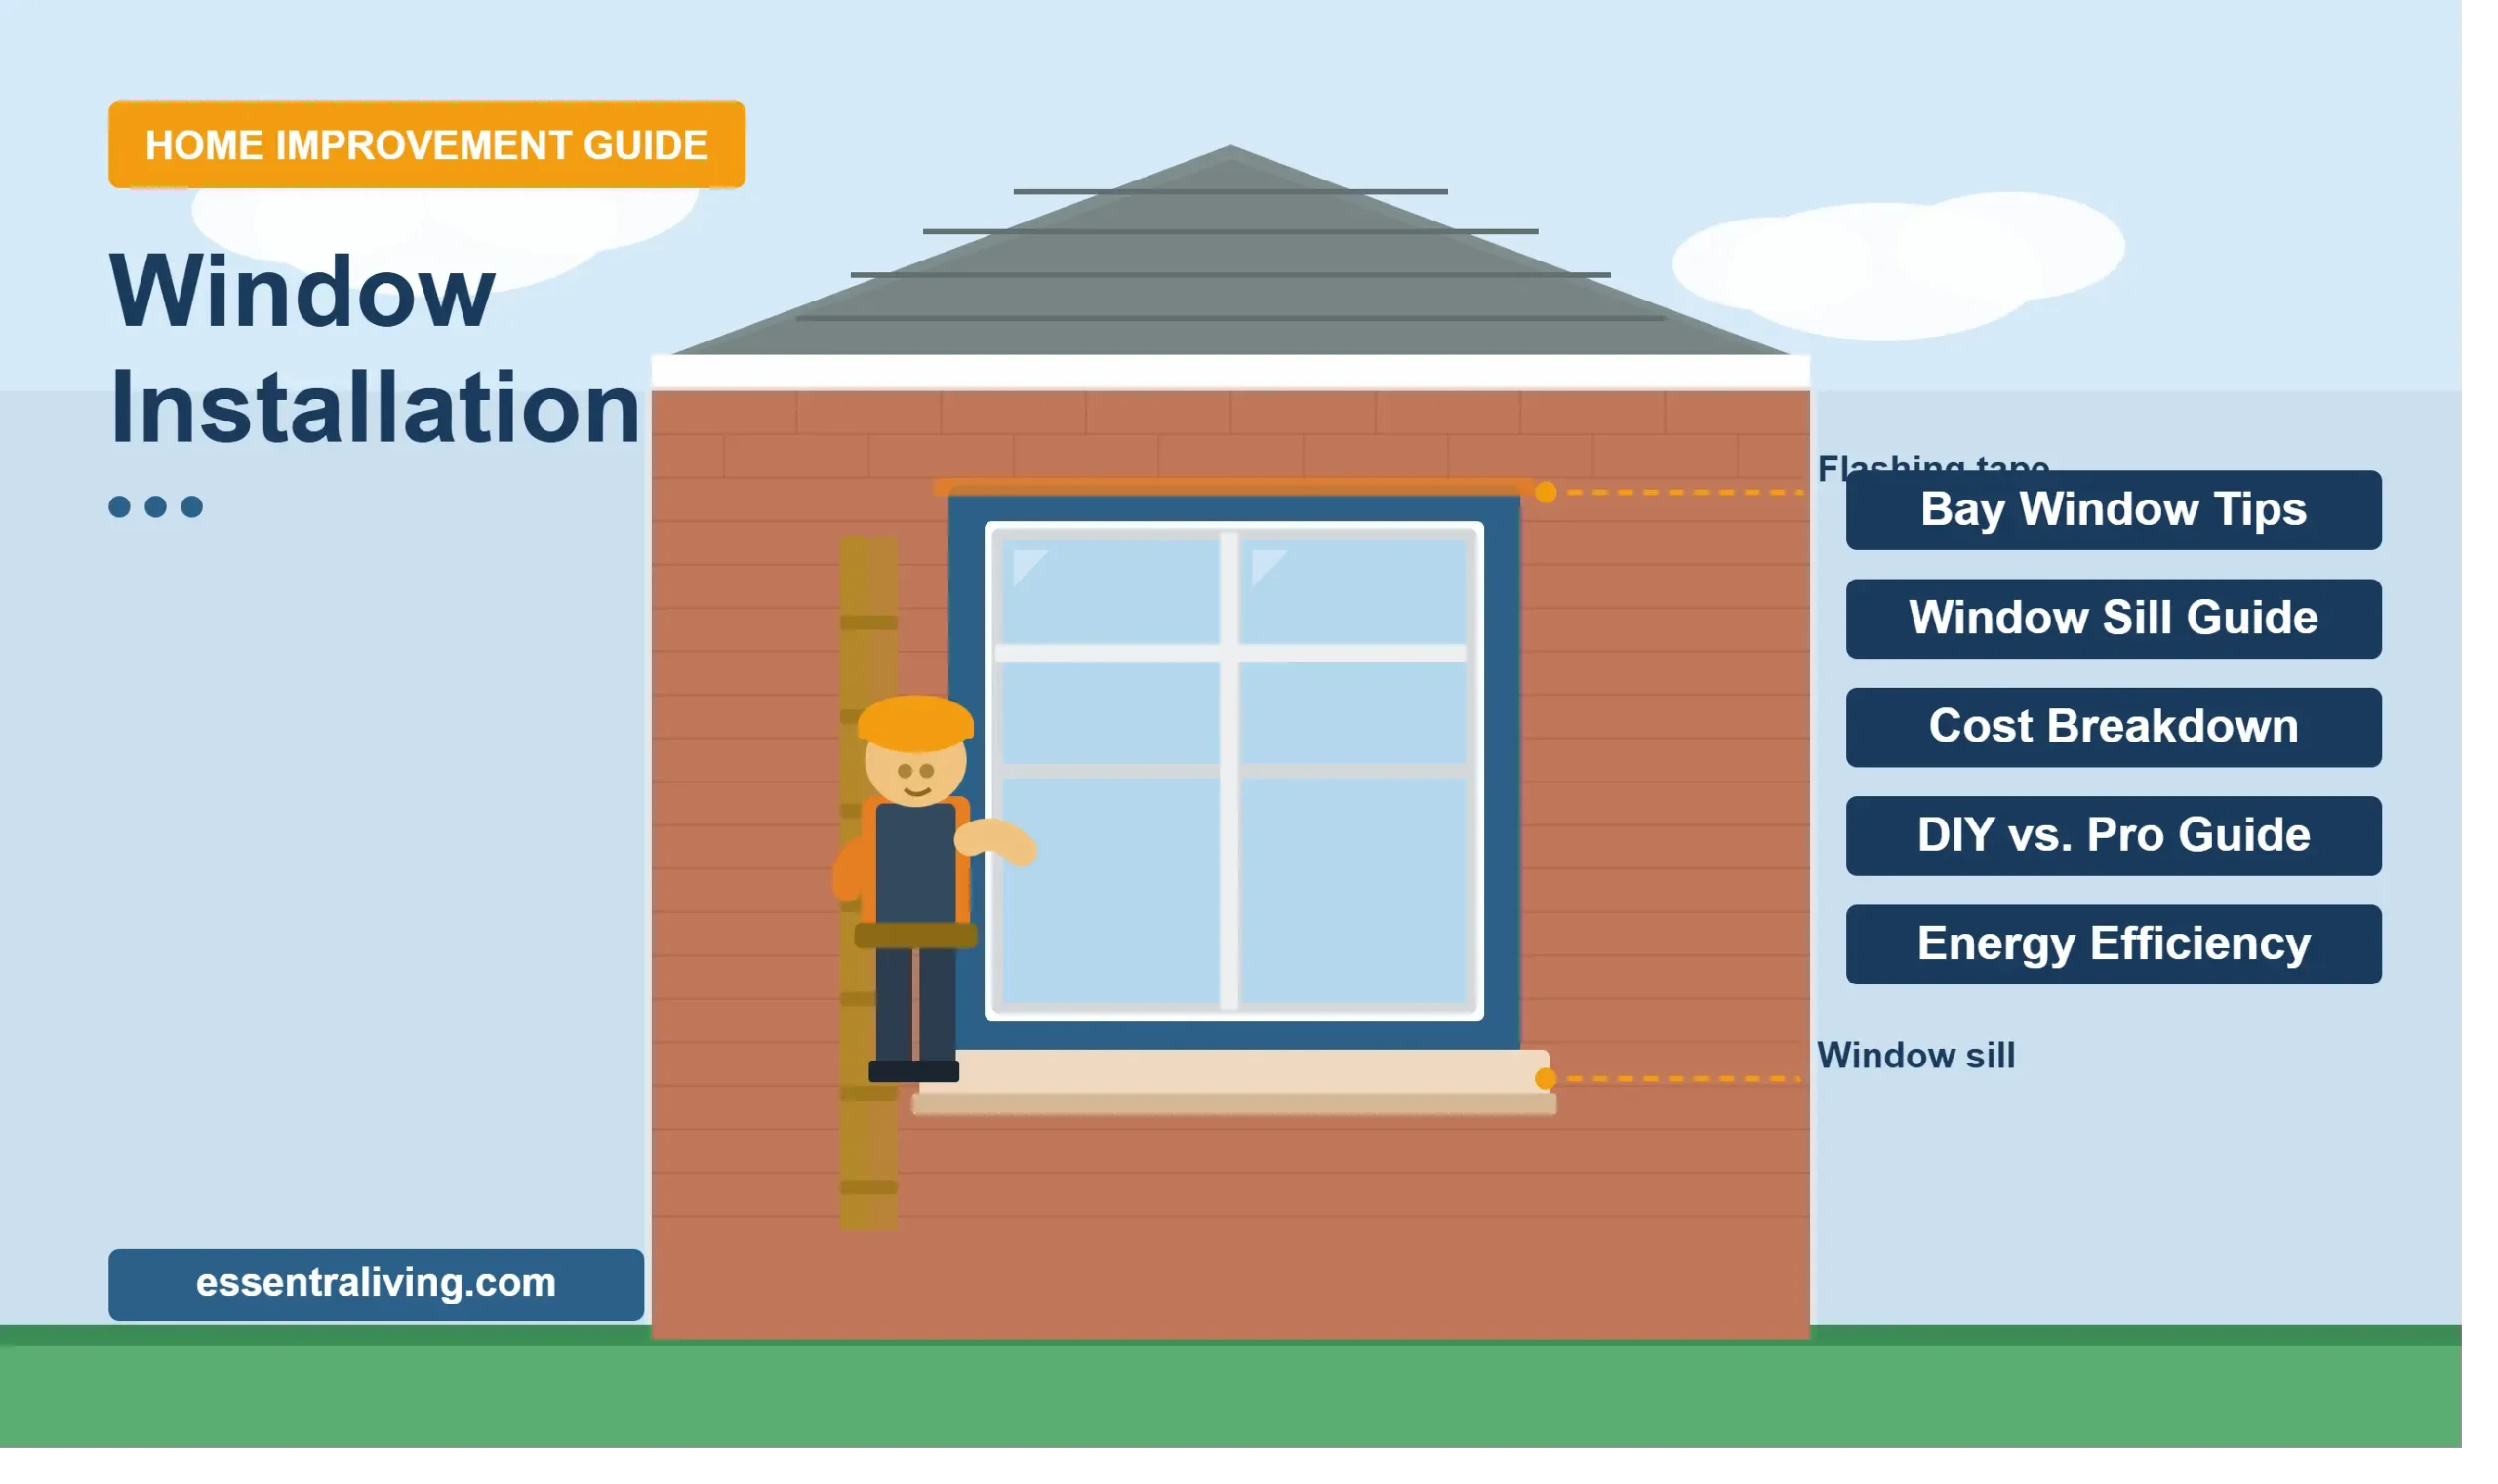
A bad window installation costs you more than money — it costs you comfort, energy efficiency, and peace of mind. Drafts creep in, frames rot, and heating bills climb. The problem is most homeowners don’t know what to look for until damage is already done. This guide covers every step of window installation, from choosing the right frame and understanding window sill prep to planning a bay window project — so you get it right the first time.
What Is Window Installation and Why Does It Matter?
Window installation is the process of fitting a new or replacement window unit into a prepared opening in your wall. It sounds simple, but poor installation is one of the top causes of energy loss in homes across the United States.
According to the U.S. According to the Department of Energy, 25–30% of the energy used for home heating and cooling comes from heat gain and heat loss through windows. That means a properly done window installation directly impacts your monthly energy bills.
Beyond energy, a correct installation protects your home from water infiltration, structural damage, and security risks. Whether you are replacing a single unit or handling a full bay window project, the quality of the installation determines how long your windows last and how well they perform.
Types of Windows You Can Install: A Full Comparison
Before you begin any window installation project, you need to choose the right window type for your space. Each style serves a different purpose, and the wrong pick can make installation harder and more expensive.
| Window Type | Best For | Avg. Cost (Installed) | Energy Efficiency | Installation Difficulty |
| Double-Hung | Most rooms | $300–$800 | High | Easy |
| Casement | Ventilation focus | $400–$950 | Very High | Moderate |
| Bay Window | Living rooms | $1,500–$4,500 | Moderate–High | Complex |
| Sliding | Wide openings | $350–$900 | Moderate | Easy |
| Picture | Views, no airflow | $250–$700 | High | Easy |
| Awning | Wet climates | $400–$800 | High | Moderate |
How Much Does Window Installation Cost?
Window installation costs vary widely depending on the window type, frame material, labor rates in your area, and whether you need structural changes to the opening.
Here’s a reasonable summary of what to anticipate:
| Cost Factor | Low End | High End |
| Standard window unit (materials) | $150 | $1,200 |
| Labor per window | $100 | $400 |
| Bay window (full project) | $1,500 | $6,000 |
| Window sill replacement | $75 | $350 |
| Frame repair or structural work | $200 | $1,500 |
| Permit (where required) | $50 | $300 |
Most homeowners spend between $300 and $1,200 per window when you factor in both materials and professional installation. A bay window project typically runs $3,000 to $5,000 when structural reinforcement is included.
Step-by-Step Window Installation Process
Understanding the window installation process helps you plan accurately, ask the right questions, and catch problems early — whether you are hiring a contractor or doing it yourself.
Step 1: Measure the Rough Opening
Measure the width and height of the rough opening — the framed hole in your wall — at three points each. Use the smallest measurement. Add 1/2 inch on each side for shimming and adjustment room.
Step 2: Remove the Old Window
Score the interior casing paint, remove interior trim, then detach the old window frame from the rough opening. Check for rot or water damage in the framing before you move forward.
Step 3: Prepare the Window Sill
The window sill is the horizontal ledge at the bottom of the window opening. It must be level, dry, and structurally sound before you set the new window. Apply a flexible waterproof sill pan flashing to direct any moisture out of the wall cavity rather than into it.
A properly prepared window sill is one of the most overlooked steps in window installation. Skipping or rushing it leads to rot, mold, and air leaks within just a few years.
Step 4: Apply Flashing and Weatherproofing
Wrap the sides and top of the rough opening with self-adhering flashing tape. This step seals the window installation against water infiltration, which is the leading cause of premature window failure.
Step 5: Set and Level the Window
Lift the window into the opening and center it. Insert shims at the sill corners and sides to level and plumb the frame. Check with a level in both directions before securing.
Step 6: Fasten the Window Frame
Drive screws through the window’s nailing fin or mounting brackets into the rough framing. Follow the manufacturer’s fastener pattern — typically every 12 to 16 inches around the frame perimeter.
Step 7: Insulate and Seal
Fill gaps between the window frame and rough opening with low-expansion spray foam or fiberglass insulation. Do not overfill — too much foam can bow the frame and prevent proper operation.
Step 8: Install Interior and Exterior Trim
Replace or reinstall the outside trim and inside casing. . Caulk all exterior joints with a paintable, weatherproof sealant to finish the installation and protect against moisture entry.
Bay Window Installation: What Makes It Different?
A bay window is a multi-panel window unit that projects outward from the exterior wall, creating a recessed interior space. Bay window installation is more complex than standard window work because it requires structural support and precise angle management.
Key differences in bay window installation include:
- Knee braces and structural headers to support the weight and external projection of the window
- Three or more window panels set at specific angles — typically 30 or 45 degrees on the side units
- A roof section built above the bay to protect it from rain and snow
- A new window sill seat built inside the bay, which many homeowners use as a reading nook or storage bench
- More extensive flashing requirements because of the complex geometry and multiple joints
Bay window installation typically takes two to three days for an experienced crew. Because it involves structural changes to the wall opening, most municipalities require a building permit before work begins.
| Projection depth | 12–24 inches | 6–12 inches |
| Bay Window Factor | Standard Bay | Box Bay (Garden) |
| Typical panel count | 3 panels | 3 panels (90° sides) |
| Structural support needed | Yes — always | Yes — always |
| Interior seat/sill | Common | Common |
| Permit required | Usually yes | Usually yes |
| Average installed cost | $2,500–$5,500 | $1,800–$4,000 |
Window Sill: Role, Materials, and Replacement Guide
The window sill sits at the base of every window opening and serves two critical functions: it supports the bottom of the window frame and directs water away from the wall. A damaged or poorly installed window sill causes more water damage than almost any other part of a window installation.
Common Window Sill Materials
| Material | Lifespan | Maintenance | Cost Range |
| Wood (pine, oak) | 15–30 years | High (paint/seal) | $50–$200 |
| PVC / Vinyl | 25–40 years | Low | $30–$150 |
| Marble / Stone | 50+ years | Very Low | $100–$500 |
| Fiber Cement | 30–50 years | Low | $60–$200 |
| Aluminum | 20–35 years | Low | $40–$180 |
When you replace a window sill, cut back any rotted wood to solid material, treat the framing with a wood preservative, and install the new sill with a slight outward slope — about 1/8 inch per foot — so rainwater drains away from the wall.
DIY vs. Professional Window Installation: Which Should You Choose?
Many homeowners attempt window installation themselves to save money. For a straightforward single-window replacement in an undamaged opening, it is a realistic project for someone with basic carpentry experience.
However, professional installation is worth the cost in these situations:
- Bay window projects that require structural framing changes
- Any window installation where the rough opening needs to be resized or repaired
- High-floor or hard-to-access window locations
- Windows requiring permits and inspections
- Custom or large picture windows weighing over 80 pounds
| Factor | DIY | Professional |
| Labor cost | $0 | $100–$400/window |
| Risk of errors | Higher | Lower |
| Warranty coverage | May void | Usually included |
| Time required | 4–8 hours/window | 1–3 hours/window |
| Best for | Simple replacements | Complex or structural work |
How to Choose the Right Contractor for Window Installation
Hiring the right contractor protects your investment and ensures your window installation meets local building codes. Here is what to look for:
- Verified license and insurance — ask for documentation, not just verbal confirmation
- Written detailed quotes from at least three contractors before you decide
- References from recent window installation jobs in your area
- Clarity on who supplies the windows — some contractors use their own suppliers with markup
- A written warranty covering both the window unit and the installation labor
- Clear timeline with start and completion dates written into the contract
Avoid contractors who offer unusually low bids, pressure you to decide immediately, or ask for full payment before work begins. Legitimate window installation companies
Typical Errors in Window Installation and How to Prevent Them
These are the errors that turn a straightforward window installation into an expensive repair job:
| Mistake | What Goes Wrong | How to Prevent It |
| Skipping sill pan flashing | Water enters wall cavity, causes rot | Always flash before setting the window |
| Using high-expansion foam | Frame bows, sash won’t open/close | Use minimal-expansion or backer rod |
| Not checking for plumb and level | Window sticks, gaps appear at corners | Shim carefully and check twice |
| Ignoring rough opening rot | New window fails within a few years | Replace rotted framing before installing |
| Caulking over weep holes | Moisture trapped inside frame | Leave weep holes open on exterior |
| Incorrect window sill slope | Water pools at base, seeps inside | Slope sill 1/8″ per foot outward |
Window Installation and Energy Efficiency: What the Numbers Say
The right window installation can meaningfully cut your energy bills. But the window itself is only part of the equation — the quality of the installation determines how much of that energy-saving potential you actually capture.
ENERGY STAR certified windows can reduce household energy bills by an average of 12%, according to the Environmental Protection Agency. However, even the best-rated window loses most of its efficiency advantage if the installation leaves air gaps around the frame.
Key energy efficiency factors in window installation:
- Air sealing quality around the frame perimeter
- Type of glazing — double-pane vs. triple-pane glass units
- Low-E coatings that reflect infrared light while passing visible light
- Gas fills (argon or krypton) between panes
- Frame material — fiberglass and wood are better insulators than aluminum
- Proper window sill flashing to eliminate cold-air pathways at the base
Window Installation Permits and Building Codes
Many homeowners skip permits to save time and money on window installation — and many get away with it for years. But when damage occurs or you sell your home, an unpermitted installation can become a serious liability.
Permits are typically required when:
- You change the size or location of the window opening
- You install a bay window (structural work involved)
- You replace windows in historic or designated preservation districts
- Local codes require permits for any fenestration replacement
Check with your local building department before starting any window installation project. Most standard window replacements in the same opening size do not require permits, but the rules vary by state and municipality.
Maintenance After Window Installation: Protect Your Investment
A completed window installation is not a set-and-forget situation. Regular maintenance keeps your windows performing well for decades and protects the window sill, seals, and frame from premature deterioration.
- Inspect exterior caulk annually and reapply wherever it has cracked or pulled away
- Check the window sill each spring for paint peeling, cracks, or soft spots that signal moisture damage
- Clean weep holes with a thin wire or toothpick to prevent blockage
- Lubricate sliding tracks and hardware once a year with a silicone-based lubricant
- Test the operation of every sash — sticking or binding often means the frame has shifted and needs adjustment
- Examine bay window roof flashing and caulk joints every two years
Frequently Asked Questions About Window Installation
How long does window installation take?
A standard single-window replacement takes one to three hours for an experienced installer. A full bay window installation — including structural work — takes two to three days. Whole-house replacement projects are typically completed in one to two days for five to ten windows.
Can I install a window myself?
Yes, for a simple same-size replacement in a sound rough opening, DIY window installation is manageable with basic tools and careful preparation. It is not recommended for bay windows, oversized picture windows, or any opening that requires framing changes.
Which season is ideal for installing windows?
Spring and early fall are ideal — mild temperatures make sealing and caulking easier, and the work does not expose your home to extreme heat or cold. Avoid installing windows in freezing temperatures, as caulk and foam sealants do not cure properly below 40°F.
Why is the window sill important in installation?
The window sill anchors the bottom of the window frame and acts as the primary drainage point for moisture. Without proper window sill preparation and flashing, water infiltrates the wall cavity and causes rot, mold, and structural damage — often costing thousands to repair.
How much does bay window installation cost?
Bay window installation typically costs $1,500 to $6,000 fully installed, depending on the size, number of panels, material choices, and whether structural framing is needed. Most residential bay window projects land between $2,500 and $4,500 when you include labor and materials.
How do I know if my window installation is airtight?
On a windy day, hold a lit incense stick or a thin strip of tissue near the interior frame edges. If it flickers, you have an air leak. You can also use a thermal camera or infrared thermometer to detect cold spots around the frame — a reliable sign that the window installation needs re-sealing.
Ready to Start Your Window Installation Project?
A well-planned window installation pays for itself in energy savings, comfort, and home value. Whether you are replacing a single double-hung unit, preparing a window sill for a new frame, or taking on a full bay window project, the steps in this guide provide you with a clear route from measurement to final trim. Start by measuring your existing openings accurately, choose a window type that fits your home’s architecture and your climate, and decide whether DIY or professional installation makes more sense for your situation. If you hire a contractor, use the checklist in this guide to ask the right questions and protect your investment.
Have a question about your specific window installation situation? Leave a comment below — we read and respond to every one.
Sources and References
- U.S. Department of Energy — Energy Saver: Windows, Doors, and Skylights (energy.gov)
- Environmental Protection Agency — ENERGY STAR Certified Windows, Doors, and Skylights (energystar.gov)
- National Fenestration Rating Council — Understanding Window Performance Ratings (nfrc.org)
- International Residential Code (IRC) — Chapter 6: Wall Construction and Fenestration
- This Old House — Window Installation and Replacement Guides (thisoldhouse.com)