
You finally got the dresser you’d been eyeing for weeks. The box shows up, you cut it open, and inside is a small mountain of wooden panels, a bag of screws that all look the same, and a manual with zero words — just diagrams. Sound familiar?
Quick answer: To assemble furniture properly, sort and count every part first, read the entire manual before touching a screwdriver, build the base or frame first, keep all screws loose until the very end, then tighten everything once the piece is square. Skipping any of these steps is usually what leads to wobbly furniture or having to take it apart and start over.
The rest of this guide walks through exactly how to do that, plus the specific things that trip people up depending on what you’re building — a bed frame, a wardrobe, a desk, or anything in between.

Before You Start: What You’ll Need
Half the frustration with flat-pack furniture has nothing to do with the furniture itself. It’s not having the right tool in hand, or realizing halfway through that you’re missing a part because you never checked.
Tools Checklist
Most kits come with a small Allen key and maybe a basic screwdriver tip. That’s enough to get by, but it’s not exactly comfortable for 200 screws. Here’s what actually makes the job easier:
- A screwdriver set (Phillips and flathead)
- Allen key / hex key set
- A cordless drill with adjustable torque
- A rubber mallet (not a hammer — more on why below)
- A small level
- A tape measure
- An adjustable wrench
You don’t need all of these for a small side table. But for anything with multiple panels — a wardrobe, a bed frame, a TV unit — a drill will save you a genuinely sore wrist.
Set Up Your Workspace First
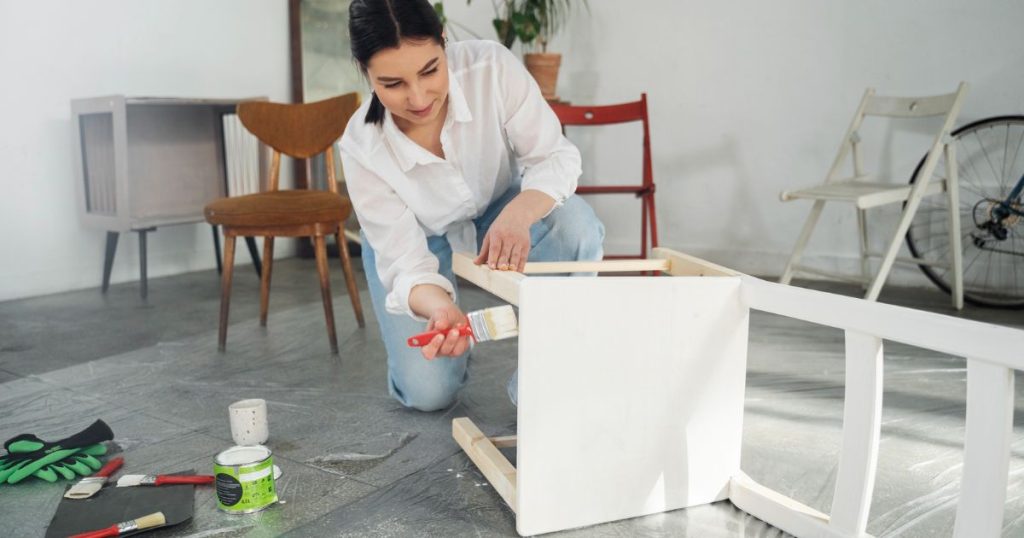
Don’t build furniture on a bare tile or hardwood floor. It scratches both the floor and the furniture, and you’ll notice it later when the piece is already against the wall and it’s too late to fix.
Lay down an old rug, a moving blanket, or flattened cardboard from the box itself. Pick a spot with good light — dim lighting is how people miss a stripped screw hole or insert a panel backwards. And give yourself more space than you think you need. Flat panels take up more floor room than the finished piece will.
Unbox and Sort Before You Build Anything
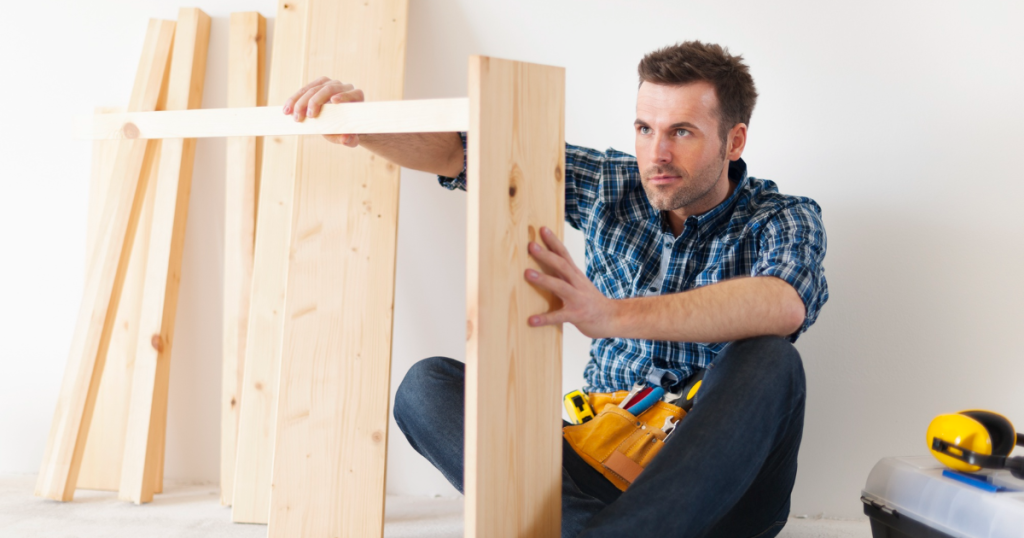
Empty the box completely and lay everything out — don’t start screwing things together the moment you spot a panel that looks like it goes first. Use the parts list in the manual to count every screw, bolt, dowel, and bracket. If something’s missing, you want to know now, not when you’re three steps in and stuck.
A simple trick that works well: use an empty egg carton or small bowls to separate hardware by type. It sounds minor, but it’s the difference between finding the right screw in two seconds versus digging through a pile every time.
How to Read Furniture Instructions Properly
Most people skim the manual or skip it entirely and just start matching pieces by eye. That’s exactly how a panel ends up installed backwards three steps in, forcing you to undo work you already did.
Common Symbols Explained
Furniture manuals use pictures instead of words so the same booklet works in every country. The symbols repeat across almost every brand, so once you know them, every future assembly tips gets easier:
| Symbol | Meaning |
|---|---|
| Triangle with exclamation mark | Important information — don’t skip this step |
| Circle with exclamation mark | Caution or attention needed |
| Lightbulb | A helpful tip or shortcut |
| Two people | This step needs a second person |
| Dashed square / arrow | Flip or turn the part in this direction |
| Magnifying glass | Check or inspect before continuing |
| Trash bin | Don’t discard this part or packaging |
| Circle with a line through it | Don’t do this — common mistake warning |
Why Reading the Whole Manual First Saves Rework
Read the entire booklet before picking up a single screw. This isn’t about being thorough for the sake of it — it’s about understanding how the pieces connect before you commit to an order. Furniture manuals build logically; step 4 often depends on something you set up loosely in step 1. If you go in blind, you’ll find that out the hard way.
Step-by-Step Assembly Process
Once your space is ready and your parts are sorted, the actual build follows a pattern that works for almost any piece of furniture, regardless of brand.
Step 1: Build the Base or Frame First
Every piece has a foundation — the bottom of a dresser, the frame of a bed, the legs of a table. Start there. Lay the largest panels on your protected surface and join them loosely with the screws or pegs shown in the manual. Check that the corners are square before moving forward; a slightly off-square base throws off everything built on top of it.
Step 2: Connect the Main Structure
Add the side panels and top, working from the bottom upward. This order keeps the piece stable as it grows taller, rather than trying to balance an unfinished structure while attaching the top.
Step 3: Keep Every Screw Loose
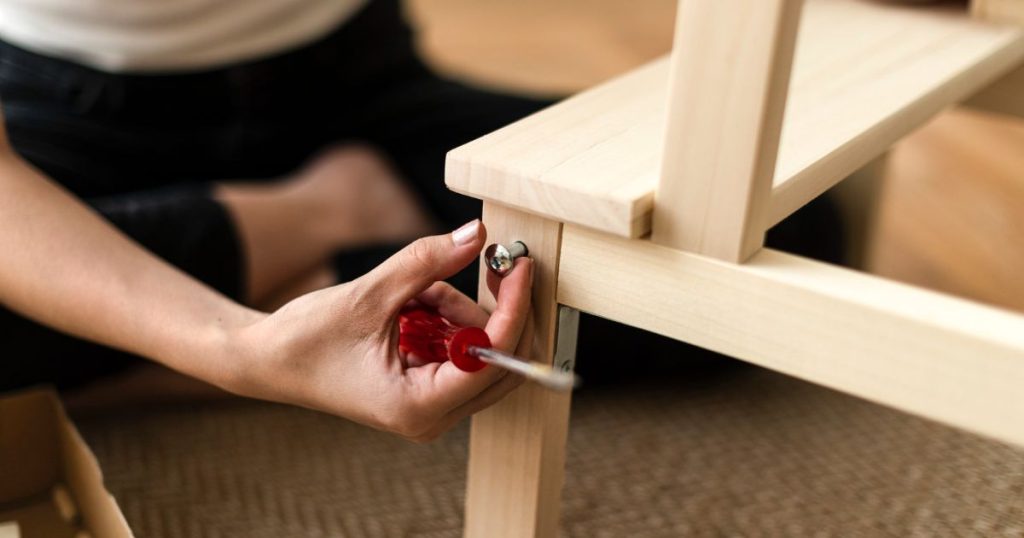
This is the step almost everyone skips, and it’s the one that causes the most rework. Turn each screw until it just holds — not tight. Loose screws give you a small amount of wiggle room to line up the next panel. If you tighten fully too early, the next set of holes often won’t match up, and you’ll have to back the screws out and try again.
Step 4: Add Doors, Drawers, and Shelves
With the main structure together (but still loose), fit the moving parts — drawers on their rails, doors on their hinges, shelves on their pins. Take your time here. These need to sit level so they open and close smoothly, and it’s much easier to adjust them now while everything still has play in it.
Step 5: Check the Fit, Then Tighten Everything
Step back and look the piece over. Every panel should sit square, every drawer and door should move freely. Once it all looks right, go back and tighten every screw fully, working from one side to the other so the tension stays even.
Finish with a gentle shake test. A properly assembled piece should feel solid, not loose or springy. If it wobbles, it’s almost always one missed screw — go back and check the joints.
Furniture-Specific Tips
General steps get you most of the way, but certain furniture types have their own quirks worth knowing in advance.
Beds and Headboards
Build the frame directly in the room where it’ll live — once assembled, bed frames are heavy and awkward to move through doorways. Attach the headboard last, after the main frame feels solid. The center support under the slats carries most of the weight, so tighten it more than you think you need to.
Wardrobes and Tall Units
Build the frame lying flat on the floor, then stand it upright once it’s together — it’s far easier and safer than trying to assemble a wardrobe vertically. Always use the included wall bracket. It takes about a minute to install and it’s the one thing that stops a tall unit from tipping forward.
Tables, Desks, and Chairs
Attach the legs first, working with the tabletop upside down. For anything heavier than a small side table, get a second person to help flip it back over — trying to do it alone is how tabletops get scratched. If you’re assembling a desk, run your cables through the access holes before declaring it done; doing this afterward means partially disassembling it again.
Drawers and Cabinets
Get the main cabinet box right before touching a single drawer. If the outer box isn’t sitting square, no drawer will glide properly no matter how well you build it. Assemble and test one drawer at a time — slide it in, check that it moves smoothly, then move to the next.
Sofas
If your sofa arrives in pieces, attach the legs while it’s flipped upside down, then have someone help turn it back over — sofas are heavier than they look and awkward for one person to flip alone. For sectionals, build each section separately before connecting them.
Common Assembly Mistakes (and Quick Fixes)
| Mistake | How to Fix It |
|---|---|
| Skipping the manual and guessing the steps | Read the full manual once before starting |
| Tightening screws too early | Leave everything loose until the final step |
| Building parts in the wrong order | Always start with the base, then build upward |
| Not counting parts before starting | Sort and check everything against the parts list first |
| Using a hammer instead of a rubber mallet | Switch to a mallet to avoid cracking pre-made holes |
| Overtightening screws | Stop as soon as the screw feels secure, not rock solid |
Overtightening deserves a special mention — it’s one of the most common ways people accidentally damage their own furniture. Pushing a screw too far can crack soft wood or strip the hole entirely, especially in particleboard pieces. Once a hole strips, the fix is usually inserting a wooden toothpick or dowel into the hole before reinserting the screw, which gives it something to grip again.
When to DIY vs. When to Call a Professional
| Doing It Yourself | Hiring Help | |
|---|---|---|
| Cost | Free, aside from your time | Usually charged per hour or per item |
| Time | A couple of hours for most pieces | Faster, since it’s their full focus |
| Tools | You need your own | They bring everything |
| Risk of damage | Higher on large or heavy pieces | Lower, since it’s routine for them |
If it’s a small bookshelf or side table, building it yourself is usually the easier call — low risk, low effort. For anything large, heavy, or expensive — a wardrobe, a sectional sofa, a complicated bed frame — the cost of getting professional help is often worth it simply to avoid the risk of damaging something pricey on your first attempt.
How to Make Assembled Furniture Last Longer
Assembling it correctly is only half the job. A few small habits keep it solid for years:
- Check all screws about two weeks after assembly — wood settles slightly, which can loosen joints
- Lift furniture when moving it rather than dragging it across the floor
- Avoid piling heavy items on top of tall furniture
- Wipe up spills quickly, especially on wood and laminate finishes
- Keep the manual and any spare screws — tape a small bag of extras underneath the piece for easy access later
FAQs
What tools do I need to assemble furniture?
A screwdriver set, an Allen key, and a rubber mallet cover most jobs. A cordless drill speeds things up considerably, and a tape measure and level help keep everything aligned.
Can I assemble large furniture by myself?
Yes, but it takes longer and carries more risk of dropping or misaligning a heavy panel. For anything like a wardrobe or a king-size bed frame, having a second person makes the job noticeably easier and safer.
What should I do if a part is missing?
Check it against the manual’s parts list again first — it’s often still in the box packaging. If it’s genuinely missing, contact the seller directly. Most furniture brands send replacement parts within a few days at no charge.
Why does my furniture wobble after assembly?
Almost always a loose screw somewhere. Go through every joint and tighten anything that gives. Also check that the furniture is sitting evenly on the floor — an uneven floor can mimic a wobble that has nothing to do with the assembly itself.
How do I protect my floor while assembling?
Lay down a rug, an old blanket, or flattened cardboard before you start, and keep the furniture on that surface throughout the build, not just while it’s flat.
How long does furniture assembly usually take?
Small pieces like a side table or bookshelf typically take under an hour. Larger items — a bed frame, a wardrobe, a sectional sofa — usually take two to six hours, depending on the number of parts and whether you’re working alone.
Final Thoughts
Assembling furniture isn’t really about being naturally good with tools — it’s about not skipping the boring parts. Sort your pieces, read the manual fully, build the base first, and don’t tighten anything until the whole thing is square. Those four habits solve most of the problems people run into.