Changing the color of a room can completely transform how a space looks and feels. A fresh coat on the walls can make a small area seem larger, a dark corner feel brighter, or an outdated room feel brand new. The best part? You do not need to be a professional to achieve a beautiful result.
Think of a room as a blank canvas and your paint as the brush stroke that brings it to life. Just like an artist prepares a canvas before creating a masterpiece, preparation matters as much as the final color itself. If you rush through the process, the results may show uneven finishes and messy edges. But when you take the right steps, you can create a space that feels clean, inviting, and personal.
This guide walks through everything you need to know, from preparation and supplies to techniques and finishing touches.
Choosing the Right Color for Your Space
Before opening a paint can, spend some time selecting the right shade.
Different colors create different moods:
- Soft blues often feel calming
- Warm yellows create energy
- Neutral tones provide balance
- Greens can feel refreshing
- Dark shades add depth and drama
Consider Natural Light
Light changes how a shade appears throughout the day.
A room with large windows may make colors appear brighter, while spaces with limited sunlight can make shades seem darker.
Test Samples First
Never rely only on a small paint card. Place sample patches on different walls and observe them in morning, afternoon, and evening light.
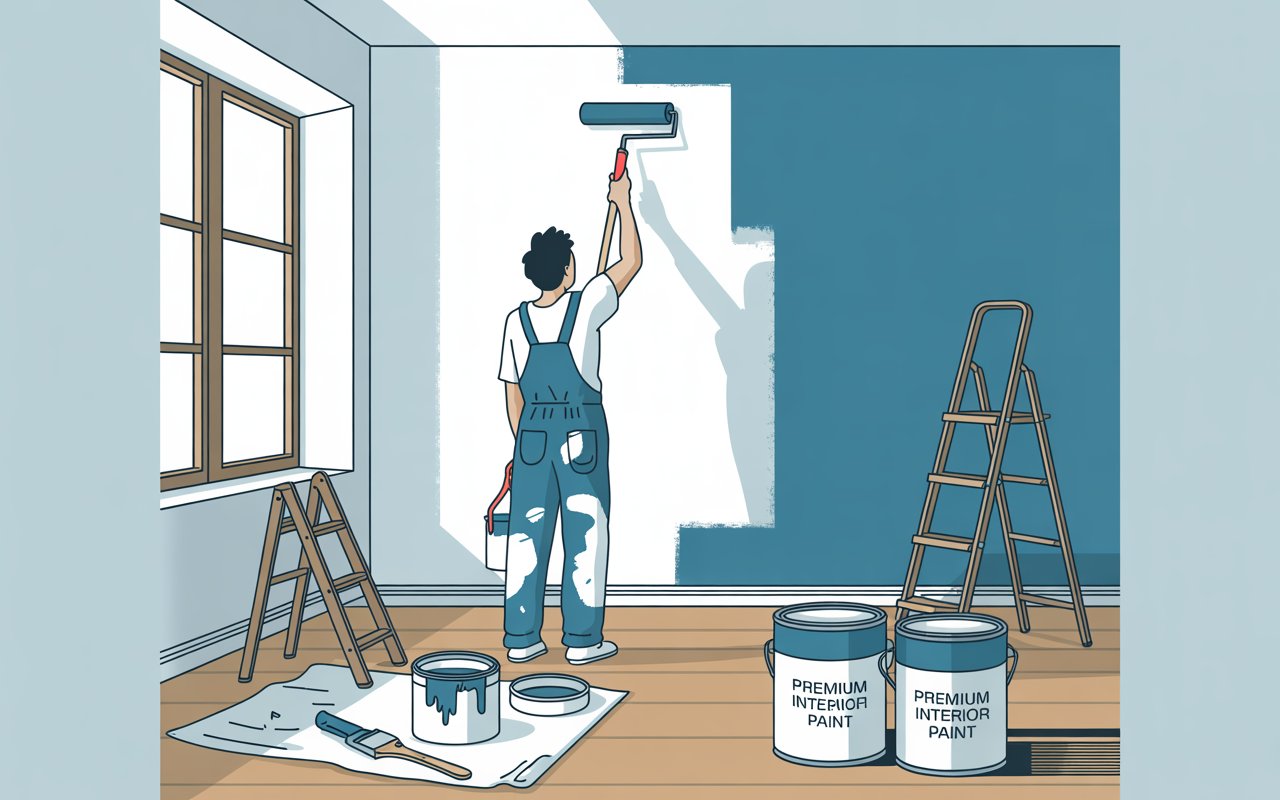
Gathering the Essential Tools and Supplies
Having the right supplies nearby saves time and prevents frustration.
Basic items include:
- Paint
- Primer
- Rollers
- Roller frame
- Paint tray
- Brushes
- Painter’s tape
- Drop cloths
- Sandpaper
- Putty knife
- Wall filler
- Ladder
- Stir sticks
- Paint can opener
Quality tools usually create cleaner and smoother results.
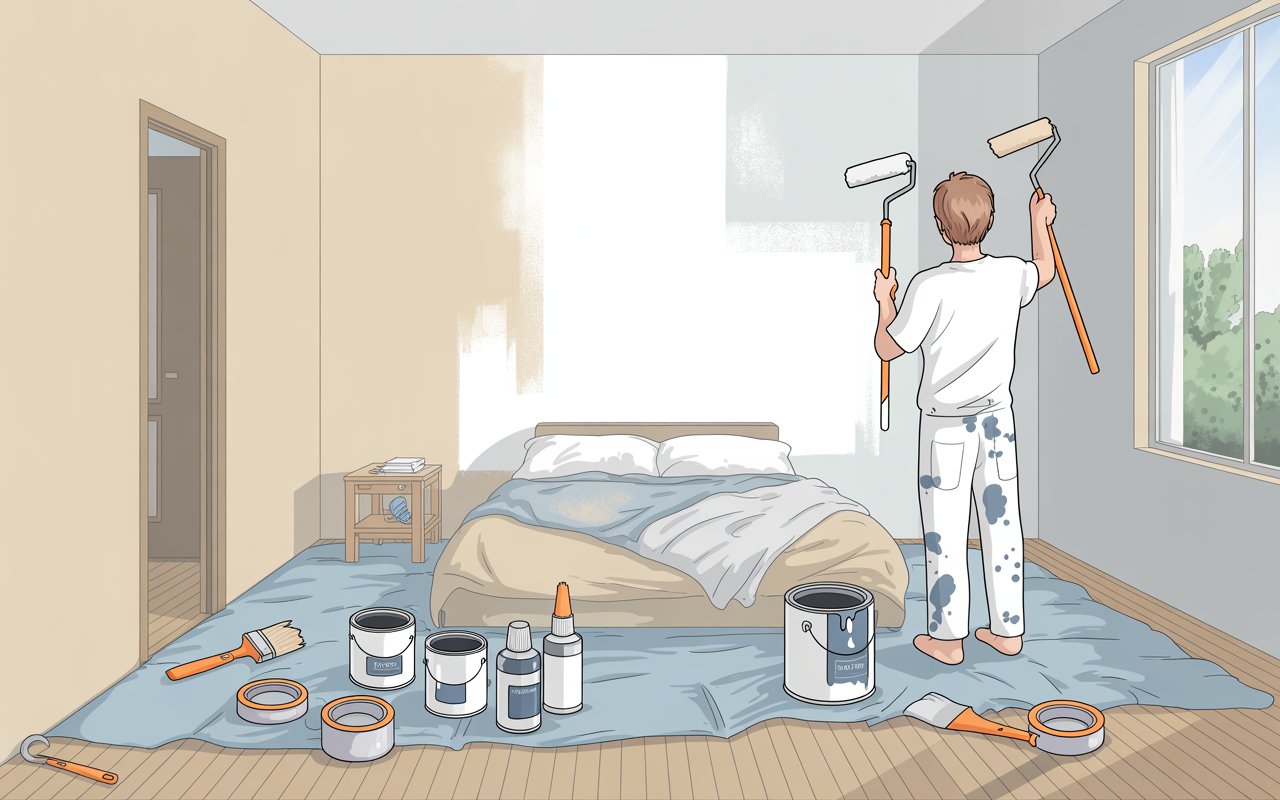
Preparing the Room Before Starting
Many people want to skip preparation and begin immediately, but preparation often determines whether the final outcome looks professional.
Remove Furniture
Move furniture out of the room if possible.
Large items that cannot be moved should be placed in the center and covered completely.
Protect Floors and Surfaces
Use protective coverings on:
- Floors
- Furniture
- Electrical outlets
- Decorative items
A few minutes of protection can prevent hours of cleaning later.
Cleaning Walls Properly
Walls collect more dirt than people realize.
Dust, fingerprints, grease, and stains can prevent proper adhesion.
Simple Cleaning Process
- Remove dust using a dry cloth
- Wash surfaces gently
- Remove grease spots
- Let walls dry completely
Kitchen walls often need extra cleaning because of oil buildup.
Repairing Imperfections Before Painting
Small wall flaws become more noticeable after a new finish is applied.
Look carefully for:
- Nail holes
- Cracks
- Dents
- Peeling areas
Fix Minor Damage
Apply filler to holes and cracks, then allow it to dry.
After drying:
- Sand the repaired spots
- Remove dust
- Check for smoothness
Run your hand across the wall. If you can feel bumps now, you will probably see them later.
Understanding the Role of Primer
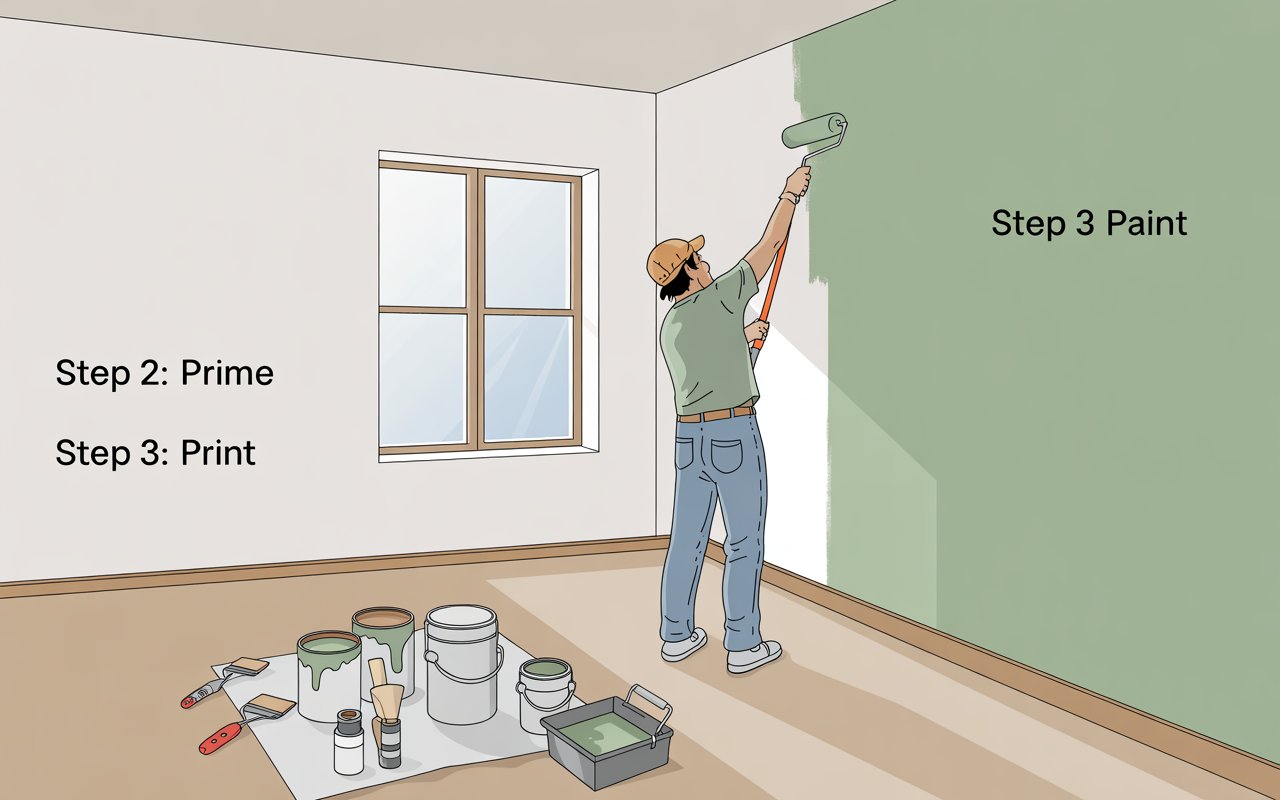
Some people wonder if primer is necessary.
The answer depends on the wall condition and color change.
Primer can help:
- Cover stains
- Hide dark colors
- Improve adhesion
- Create an even finish
Imagine trying to write on crumpled paper. The message may still appear, but a smooth surface creates a cleaner result.
Situations where primer is especially useful include:
- Fresh drywall
- Significant color changes
- Repaired surfaces
- Stained walls
Using Painter’s Tape for Clean Edges
Sharp lines around ceilings and trim make a room look polished.
Apply tape carefully around:
- Windows
- Doors
- Ceiling edges
- Baseboards
- Fixtures
Press Firmly
Loose tape can allow paint to seep underneath.
Take your time because neat borders create a big difference in appearance.
Learning Proper Brush and Roller Techniques
Technique affects the final finish more than many people realize.
Using a Brush
Brushes work best for:
- Corners
- Edges
- Tight areas
- Trim
Use smooth movements instead of pressing too hard.
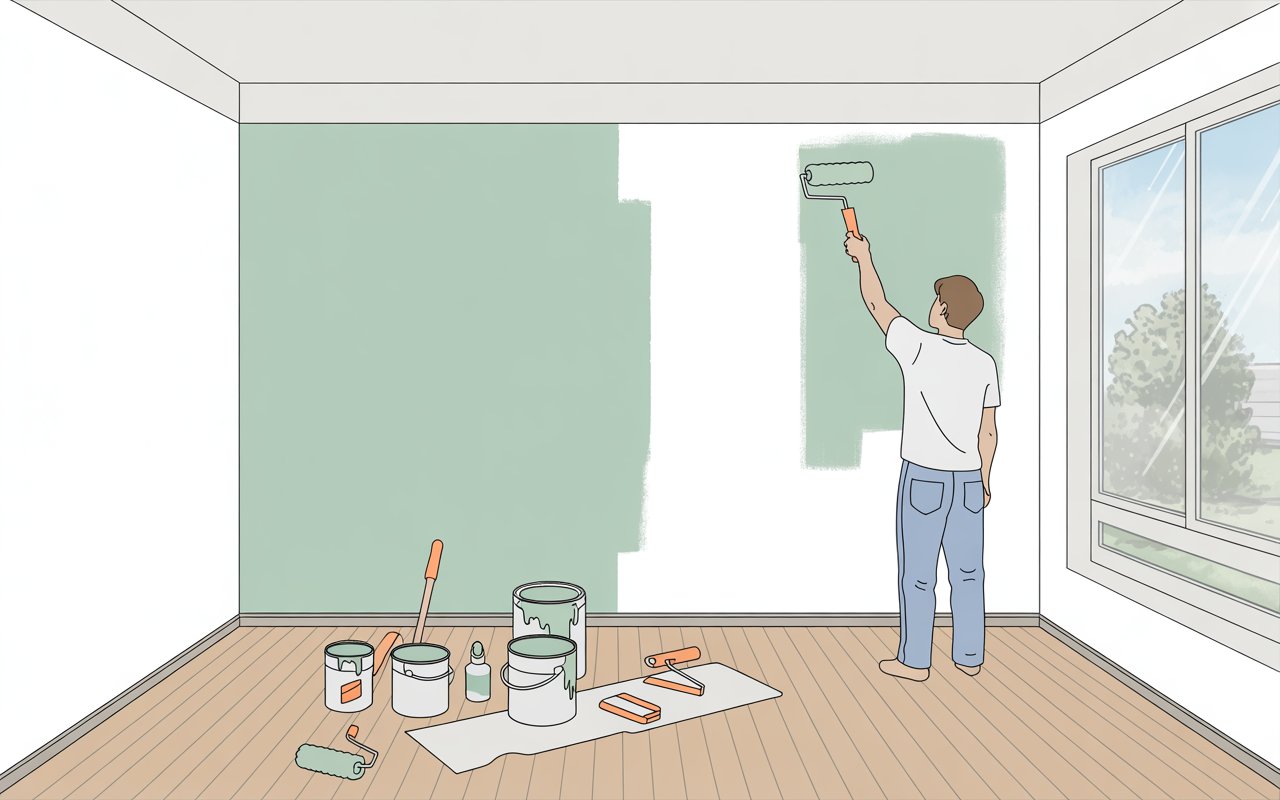
Using a Roller
Rollers cover larger areas quickly.
Follow these tips:
- Avoid dipping too deeply into the tray
- Remove excess material
- Roll evenly
Many people paint using random movements, but a consistent pattern often creates better coverage.
Starting With the Correct Painting Order
Following an organized sequence keeps the process manageable.
Recommended order:
- Ceiling
- Corners and edges
- Walls
- Trim
- Doors
Working from top to bottom prevents drips from damaging completed sections.
Applying Multiple Coats for Better Results
One coat may work sometimes, but many rooms benefit from additional coverage.
Allow Proper Drying Time
Applying another layer too quickly can create:
- Streaks
- Uneven texture
- Peeling issues
Read product instructions carefully and allow enough drying time.
Watch for Missed Areas
Step back occasionally and examine the walls from different angles.
Lighting can reveal spots that are easy to miss while standing close.
Avoiding Common Mistakes During the Process
Even simple projects can go wrong when basic mistakes happen.
Frequent issues include:
Skipping Preparation
Poor preparation often causes disappointing results.
Using Too Much Paint
Heavy application can lead to drips and uneven surfaces.
Ignoring Drying Time
Patience matters more than speed.
Using Low-Quality Tools
Cheap brushes can leave marks and loose bristles.
Poor Lighting
Good visibility helps identify imperfections early.
Cleaning Up After Finishing
The work is not complete once the walls are dry.
Proper cleanup protects tools and keeps your room looking tidy.
Remove Tape Carefully
Pull tape away slowly before it hardens completely.
Wash Reusable Tools
Clean brushes and rollers immediately according to product instructions.
Store Leftover Paint
Seal containers tightly and label them clearly.
Include details such as:
- Color name
- Room location
- Date
Stored leftovers can help with future touch-ups.
Making Your Newly Painted Room Stand Out
After finishing, add simple details to enhance the overall appearance.
Ideas include:
- Decorative artwork
- Plants
- Curtains
- Mirrors
- Lighting accents
- Furniture arrangements
Fresh walls can feel like a brand-new beginning for a familiar space.
Sometimes changing a room changes more than the room itself. Walking into a brighter, cleaner environment often brings a sense of energy and comfort that is hard to describe.
Conclusion
Learning how to paint a room is not only about changing wall color. It is about creating a space that reflects your personality and feels comfortable every day. With careful planning, proper preparation, and patience, even beginners can achieve impressive results.
You do not need special talent or years of experience. Focus on one step at a time, pay attention to details, and remember that every brushstroke moves you closer to the result you imagined. A room makeover may begin with a simple can of paint, but the difference it creates can feel much bigger.
FAQs
1. How long does it take to paint a room?
Most average-sized rooms can take between one and two days depending on preparation, drying time, and the number of coats needed.
2. Do I always need primer before painting?
Not always. Primer is most useful when covering dark colors, repairing walls, or working with new surfaces.
3. How many coats are usually necessary?
Two coats often provide better coverage and a more even finish, although some situations may require more.
4. Should I paint the ceiling or walls first?
Start with the ceiling, then move to edges and walls to avoid drips affecting finished areas.
5. What is the best way to avoid roller marks?
Use even pressure, avoid overloading the roller, and maintain a consistent rolling pattern across the surface.