Whether you are making homemade jam, pickles, sauces, baby food, or storing dry ingredients, clean jars play a major role in keeping food safe. Many people focus on recipes and ingredients but overlook one important step—proper preparation of containers before use.
Think of a jar as the foundation of a house. You can build beautiful walls and add attractive decorations, but if the foundation is weak, everything else becomes risky. In the same way, even the best homemade food can spoil if it goes into containers that are not properly cleaned and prepared.
The good news? This process is not complicated. You do not need expensive tools or professional equipment. With a few household items and the right method, you can prepare containers safely and confidently.
This guide explains everything from why it matters to step-by-step techniques, common mistakes, and practical tips anyone can follow.
Why Proper Jar Preparation Matters
Before jumping into the methods, it helps to understand why this step is important.
Containers may look clean after washing, but tiny organisms that cannot be seen with the naked eye can still remain on surfaces. These microorganisms may lead to:
- Mold growth
- Food spoilage
- Strange odors
- Shorter shelf life
- Contamination risks
Preparing jars correctly helps reduce unwanted bacteria and creates a cleaner environment for preserving food.
This becomes particularly important for:
- Homemade jams
- Jelly
- Pickled vegetables
- Tomato sauces
- Chutneys
- Fruit syrups
- Fermented foods
Even for dry storage, cleanliness improves quality and longevity.
Understanding the Difference Between Cleaning and Sterilizing
Many people assume washing and sterilizing mean the same thing. They do not.
Cleaning
Cleaning removes visible dirt, grease, and food residue through soap and water.
Sterilizing
Sterilizing goes further by reducing microorganisms through heat or other approved methods.
Imagine washing a muddy pair of shoes. They may look clean on the outside, but hidden dust can still remain in the seams. A deeper treatment removes what ordinary washing misses.
For food preservation, both steps are important.
Items You Need Before Starting
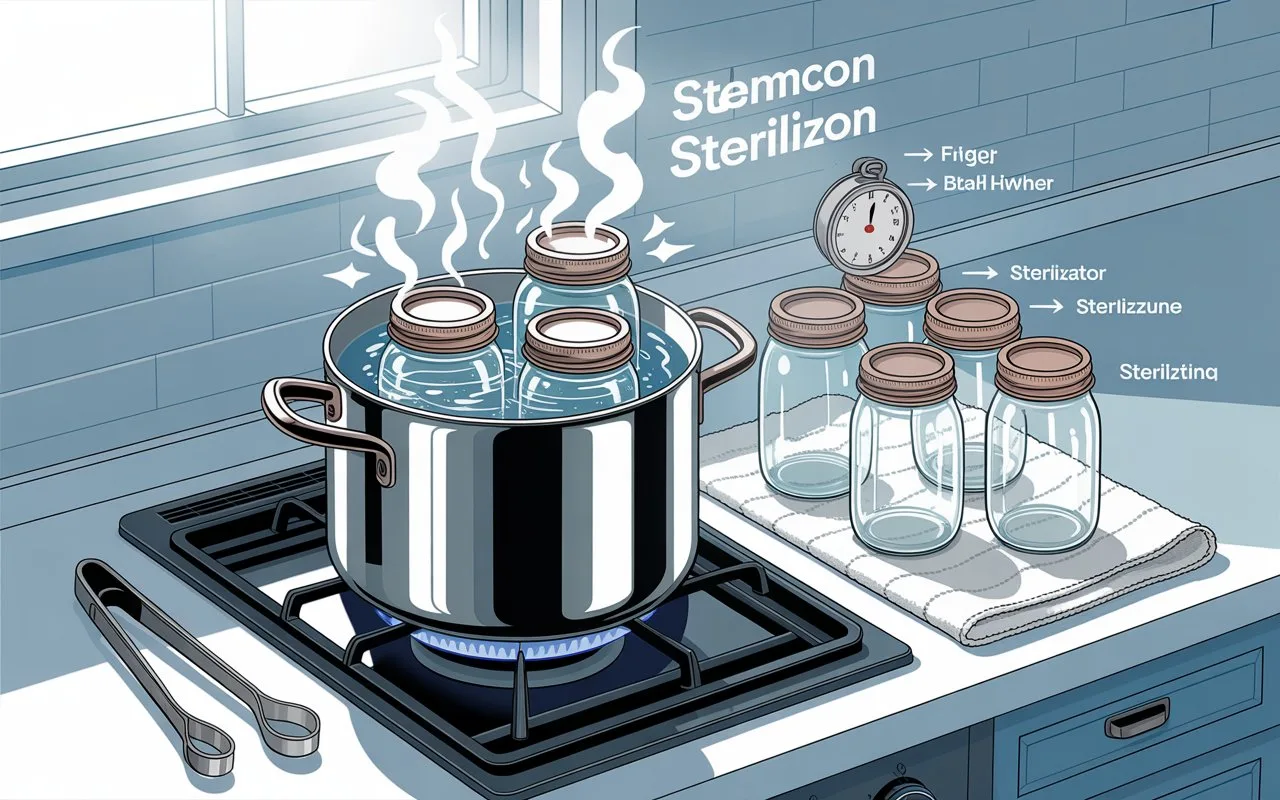
You probably already have everything in your kitchen.
Basic supplies include:
- Glass jars
- Matching lids
- Pot with a lid
- Tongs
- Clean kitchen towel
- Oven mitts
- Rack or heat-safe surface
- Warm water
- Dish soap
Some people also use:
- Dishwasher
- Baking tray
- Pressure canner
- Steam equipment
Inspect containers before starting.
Check for:
Cracks
Damaged glass may break under heat.
Chips
Small chips around the rim can prevent proper sealing.
Rust
Metal lids with rust should not be reused.
Method 1: Sterilizing Jars in Boiling Water
The boiling method is one of the most common techniques used at home.
Step 1: Wash Thoroughly
Clean jars and lids using warm water and soap.
Rinse completely to remove soap residue.
Step 2: Place Containers in a Large Pot
Arrange jars upright inside a deep pot.
Avoid overcrowding because glass can knock against glass.
Step 3: Fill With Water
Add enough water to cover containers completely.
Water should sit approximately one inch above them.
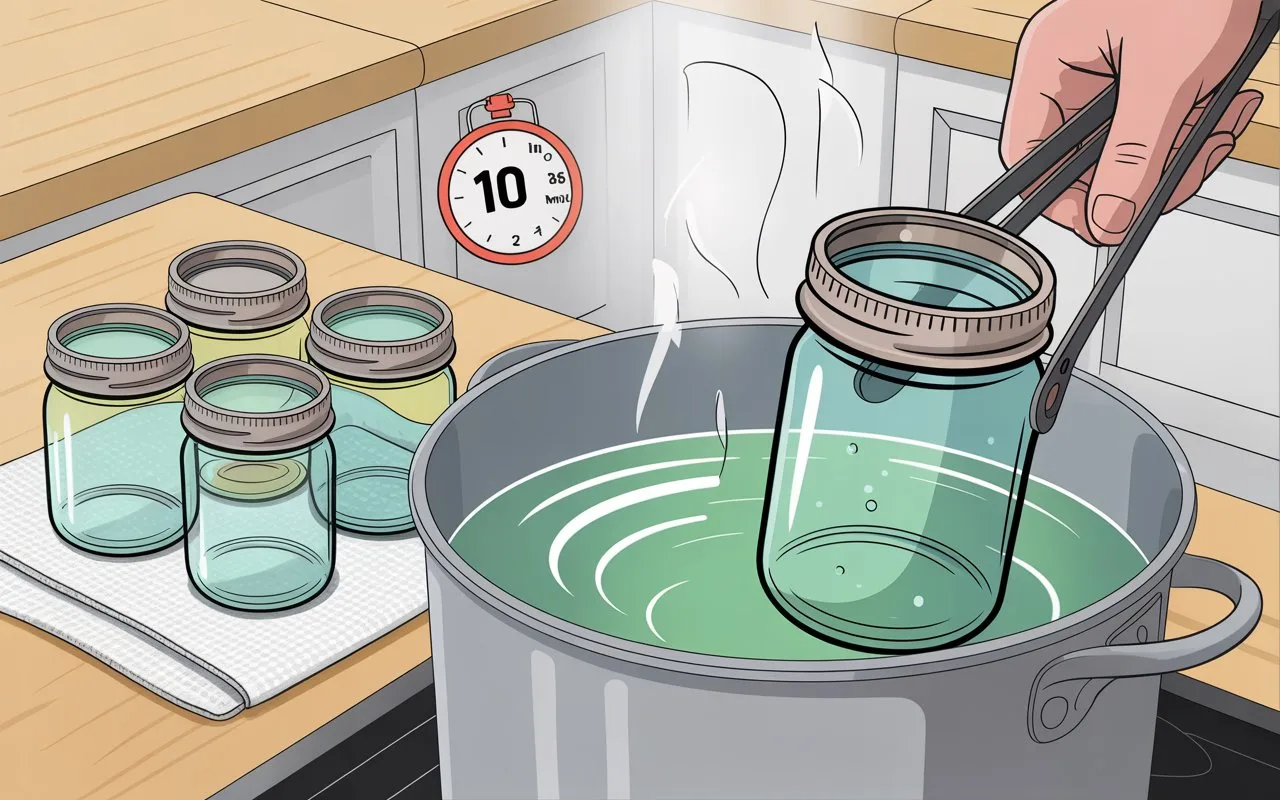
Step 4: Boil
Bring water to a rolling boil.
Keep boiling for approximately 10 minutes.
If you live at high altitude, extra time may be required.
Step 5: Remove Carefully
Use clean tongs to lift containers.
Place them upside down on a clean towel.
Allow them to air dry naturally.
Avoid wiping the inside because cloth fibers can transfer contaminants.
Method 2: Using an Oven
Some people prefer the oven method because it works well for multiple containers at once.
Step 1: Wash First
Begin with clean jars.
Never place dirty containers directly into the oven.
Step 2: Preheat
Set temperature around 250°F (120°C).
Extremely high heat is unnecessary.
Step 3: Arrange on a Tray
Place jars upright on a baking tray.
Leave space between them.
Step 4: Heat
Leave them inside for approximately 15–20 minutes.
Keep them warm until needed.
Important Note
Many experts recommend avoiding oven treatment for metal lids because sealing materials can become damaged.
Follow manufacturer instructions for lids.
Method 3: Sterilizing Jars in a Dishwasher
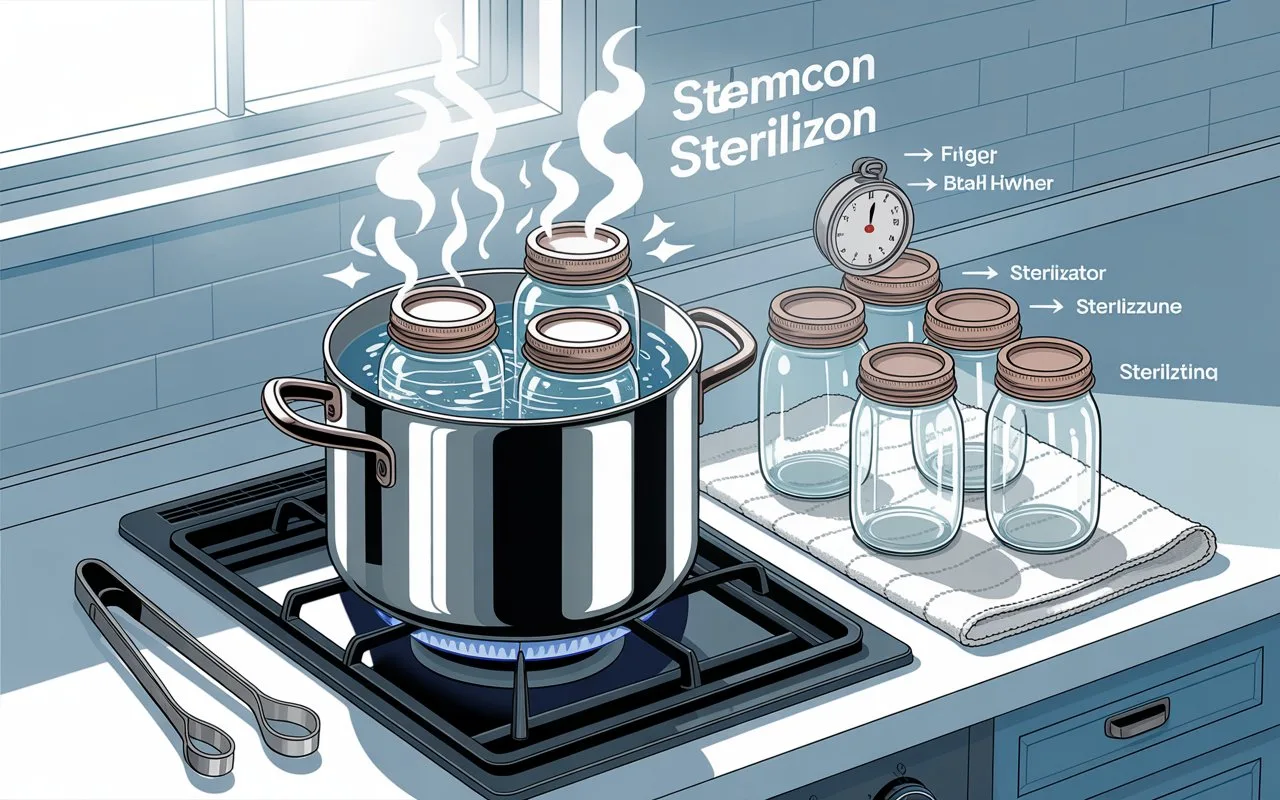
Modern dishwashers can simplify the process.
Step 1: Use a Hot Cycle
Select the hottest setting available.
High-temperature wash cycles provide deeper cleaning.
Step 2: Skip Immediate Drying Removal
Leave jars inside until you need them.
Warm containers are helpful when filling hot foods.
Step 3: Handle Carefully
Remove using clean hands or sanitized tools.
Remember that not every dishwasher reaches temperatures suitable for sterilization purposes, so check appliance specifications.
Method 4: Steam Sterilization
Steam is another effective option.
Process:
- Add water to a pot.
- Place a rack above water level.
- Put containers on the rack.
- Cover with a lid.
- Heat until steam surrounds jars.
- Continue for approximately 10–15 minutes.
Steam works because high heat reaches surfaces while reducing direct contact with water.
How to Prepare Lids Properly
People often focus only on jars and forget about lids.
Lids require attention too.
For metal lids:
- Wash gently
- Use warm water
- Follow manufacturer guidance
- Avoid extreme temperatures if advised
Some sealing compounds can weaken if heated excessively.
Always read packaging instructions.
Filling Jars Safely After Sterilization
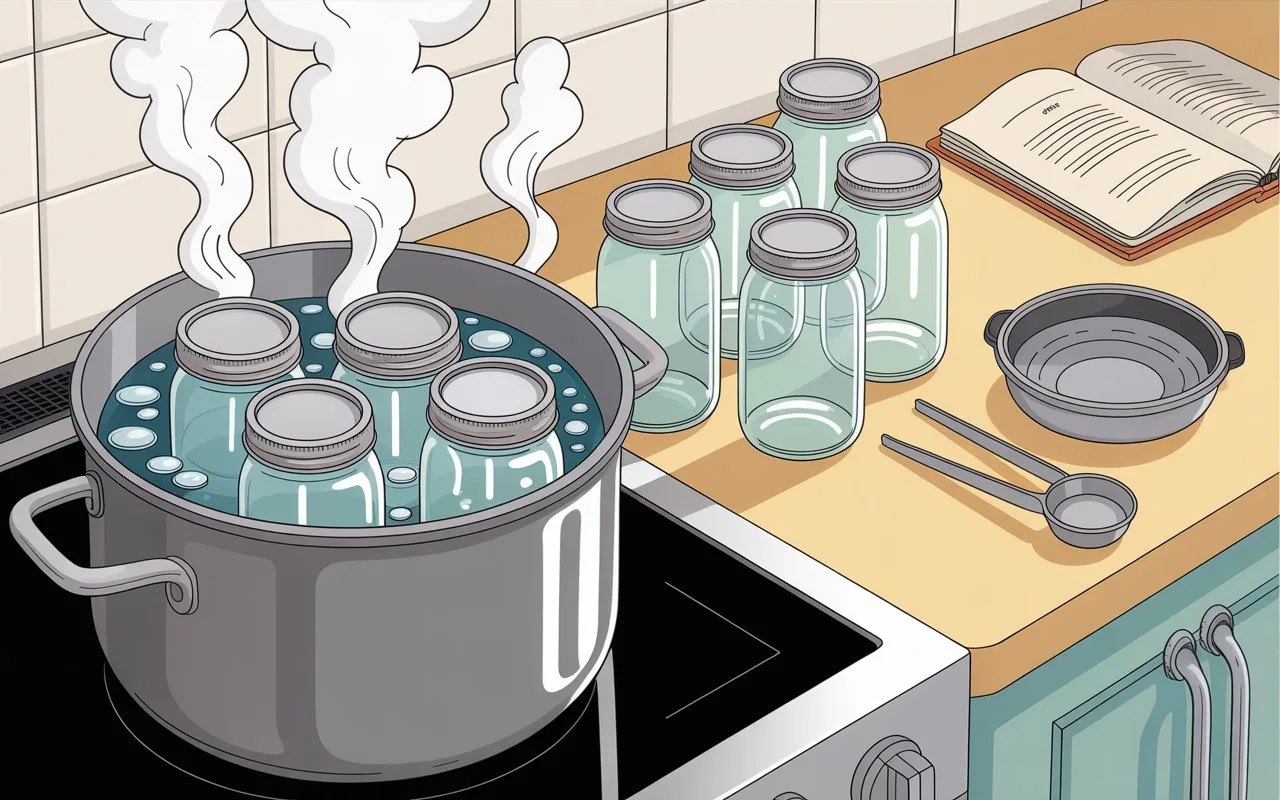
Once containers are ready, timing matters.
Do not leave prepared jars sitting for long periods before use.
Helpful tips include:
Keep jars warm
Hot food entering cold glass can cause cracks.
Use clean utensils
Dirty spoons can introduce contaminants.
Leave proper headspace
Do not fill to the very top.
Wipe rims
Remove spills before sealing.
These small details help create better seals and safer storage.
Common Mistakes People Make
Even experienced home cooks occasionally make mistakes.
Skipping Inspection
Hairline cracks are easy to miss.
Damaged glass may break unexpectedly.
Touching the Inside Surface
Hands naturally carry oils and bacteria.
Handle containers from the outside whenever possible.
Using Cold Water on Hot Glass
Sudden temperature changes may cause glass to shatter.
Allow gradual cooling.
Reusing Damaged Lids
A weak seal can ruin an entire batch of preserved food.
Drying With Kitchen Cloths
Clean towels may still leave lint behind.
Air drying works better.
How Long Do Sterilized Jars Stay Sterile?
This question comes up frequently.
Prepared jars do not stay sterile forever once exposed to air.
Ideally:
- Fill them immediately after preparation
- Keep them warm before use
- Cover them if there will be delays
For best results, prepare containers shortly before beginning your recipe.
Storage Tips After Sealing Food
Preparing jars is only part of the process.
Proper storage matters too.
For longer-lasting results:
Store in cool places
Excess heat may affect quality.
Avoid direct sunlight
Light can reduce flavor and color.
Label containers
Write dates and contents.
Check seals regularly
Look for leaks or unusual odors.
These habits help preserve freshness.
When Sterilization May Not Be Necessary
Certain modern canning methods process filled jars at high temperatures for enough time to make additional sterilization unnecessary.
Examples can include:
- Pressure canning procedures
- Long boiling-water processing
Always follow the instructions of the specific recipe you are using.
Different foods have different safety requirements.
Conclusion
Preparing jars properly is one of those simple kitchen habits that can make a big difference. It improves food quality, reduces spoilage risks, and gives you greater confidence when preserving homemade items.
The process itself is straightforward. Wash thoroughly, choose a suitable method, handle everything carefully, and use containers soon after preparation.
Once you do it a few times, it becomes second nature—almost like fastening a seatbelt before driving. It only takes a moment, yet it adds an extra layer of protection that matters.
FAQs
1. Can I sterilize jars without boiling them?
Yes. Alternative methods include using an oven, dishwasher, steam system, or other approved heat-based techniques.
2. Can I reuse glass jars from store-bought foods?
Yes, many glass containers can be reused if they have no cracks or chips and are suitable for heat processing.
3. Should jars be hot before filling them?
Yes. Warm jars reduce the chance of sudden temperature changes that may crack glass.
4. How do I know if a jar has sealed properly?
The lid should sit firmly without popping when pressed in the center.
5. Can I sterilize lids and jars together?
That depends on the lid type and manufacturer instructions. Some lids tolerate heat differently, so always check guidance before processing.