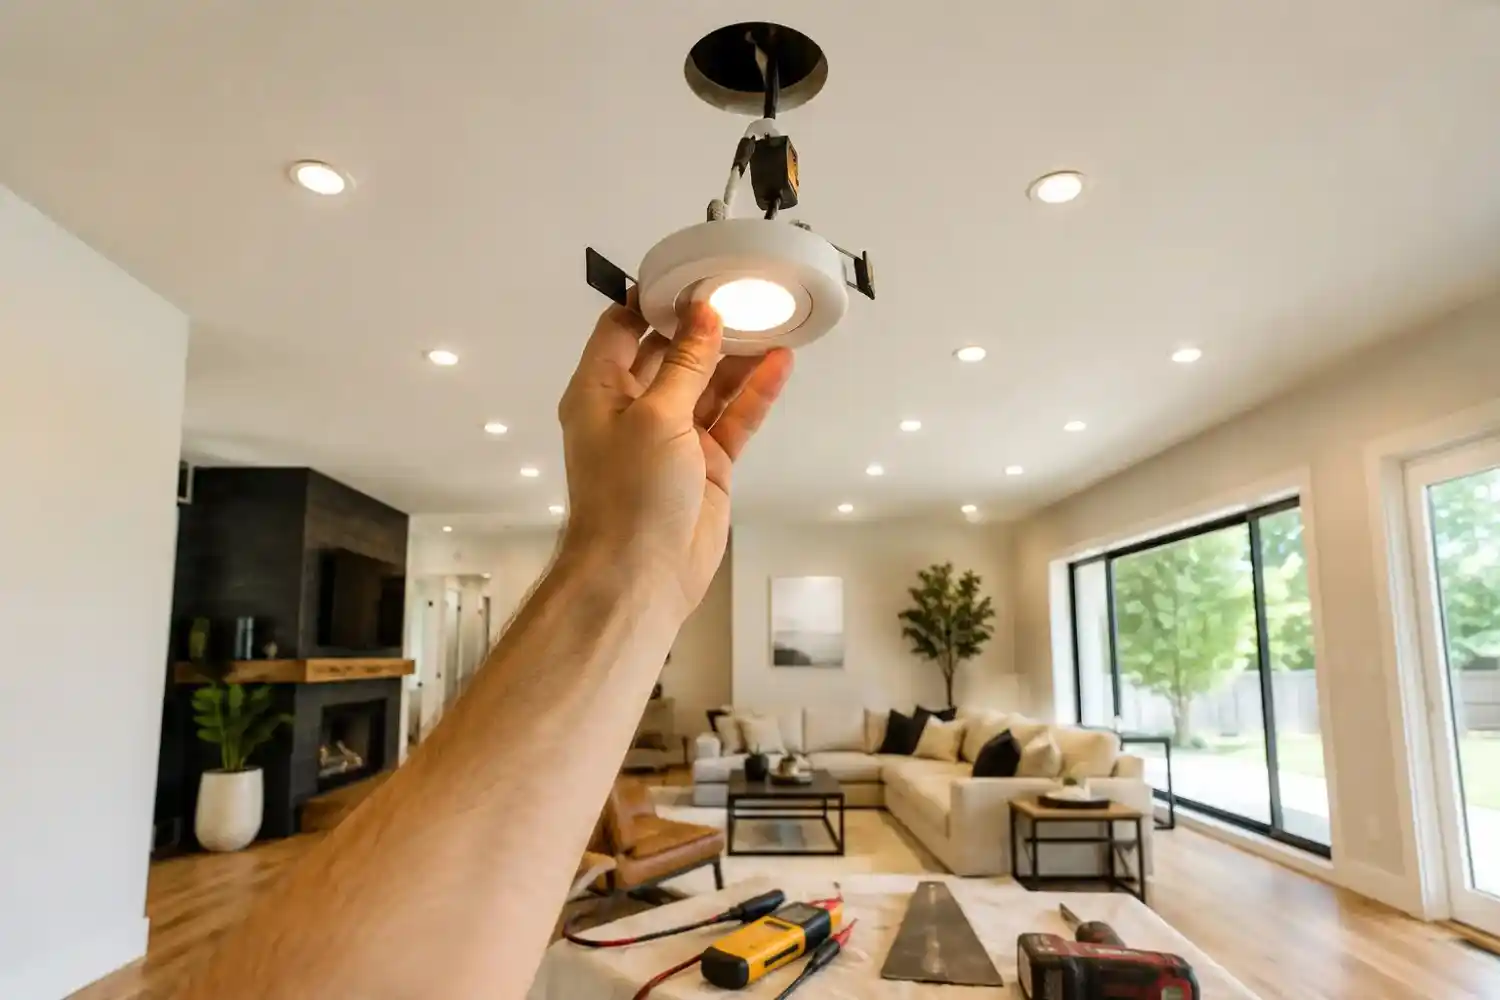
Dark rooms drain energy and make daily tasks a struggle. That clunky ceiling fixture casts shadows and steals space. Recessed lighting solves this instantly. These flush-mounted lights deliver clean, modern brightness without clutter. Learn to plan, install, and position recessed lighting perfectly. This guide walks you through every step so you can illuminate your home with confidence.
What Is Recessed Lighting and How Does It Work?
Recessed lighting, often called downlights or can lights, sits inside a ceiling opening. The housing hides above the drywall, and only a trim ring and bulb remain visible. This setup pushes light downward in a focused beam. You get even illumination without dangling fixtures that collect dust and break sightlines.
Three core parts make up every recessed light: the housing, the trim, and the bulb or LED module. The housing anchors the fixture to ceiling joists. The trim directs light and hides the cutout edge. Modern LED modules combine bulb and trim into one seamless unit. This design works for new construction and retrofit projects.
How the System Creates Light
Electricity runs from a switch to the junction box on the housing. From there, it feeds the socket or integrated LED driver. For IC-rated housings, you can bury insulation directly over the can without fire risk. The Department of Energy confirms that LED-based recessed lighting uses at least 75% less energy than old incandescent cans[1]. The result is cooler operation and lower bills.
Types of Recessed Lighting: Cans vs. Canless
Traditional recessed lights need a separate metal “can” housing mounted between joists. Canless recessed lighting eliminates that housing entirely. A slim LED disk connects directly to a junction box and clips into the ceiling hole. This saves height and works in shallow ceiling cavities where standard cans won’t fit.
- Standard can housings: Best for new construction or open ceiling access. You choose a trim and bulb separately.
- Canless integrated LEDs: Thin as half an inch, ideal for tight plenums and insulated ceilings. No bulb replacement—the entire fixture lasts 50,000 hours.
- Retrofit modules: Screw into an existing can and convert an old incandescent fixture to LED in minutes.
The National Electrical Code requires that all housings touching insulation be IC-rated. Check your ceiling type before buying[2].
LED Recessed Lighting: Why Efficiency Matters
LED recessed lighting delivers more lumens per watt than any other option. A 10-watt LED can match the 65-watt incandescent bulb it replaces. This cuts cooling load because LEDs produce minimal heat.
Select color temperature carefully. 2700K–3000K gives a warm, inviting glow for living rooms. 3500K–4000K offers a crisp neutral white perfect for kitchens and bathrooms. 5000K mimics daylight and suits garages or task-heavy workshops.
A high CRI (Color Rendering Index) of 90 or above makes paint colors and wood tones pop without distortion. Many LED trims now include selectable CCT switches, so you set the exact warmth at the fixture.
| Fixture Type | Wattage (Equivalent) | Average Lifespan | Typical Cost per Fixture |
| Incandescent can | 65W | 1,000 hours | $8–$12 |
| CFL retrofit | 15W (65W eq.) | 8,000 hours | $10–$15 |
| Integrated LED canless | 10W (65W eq.) | 50,000 hours | $18–$35 |
| LED trim in existing can | 11W (65W eq.) | 35,000 hours | $12–$25 |
Halo Recessed Lighting: A Trusted Brand Overview
Halo recessed lighting by Cooper Lighting dominates pro electricians’ preference lists. The brand offers airtight IC-rated housings, wet-location trims, and full LED retrofit kits. Halo’s slide-n-side wire connectors speed up installation by 20% compared to older designs.
If you want flexibility, the Halo Ultra Slim series provides a canless downlight with a remote driver box. It fits in remodels without tearing out drywall. The Halo Home system also integrates with Amazon Alexa and Google Assistant for smart voice control. Choose a Halo selector guide on their site to match trim size, color, and beam spread to your room.
How to Plan Your Recessed Lighting Layout
Spacing and placement make or break a recessed lighting project. Start with a recessed lighting calculator—a simple formula that uses ceiling height. Divide your ceiling height by two to get the ideal distance between fixtures. For Lighting should be spaced four feet apart on a typical eight-foot ceiling.
Room-by-Room Spacing Quick Guide
| Room | Ceiling Height | Spacing Between Lights | Fixture Size | Lumens per Light |
| Living Room | 8 ft | 4 ft | 4 or 6 inch | 700–900 |
| Kitchen | 8 ft | 3–4 ft (over counters) | 4 inch | 600–800 |
| Hallway | 8 ft | 3–4 ft | 4 inch | 500–700 |
| Bathroom | 8 ft | 3 ft around mirror | 4 inch (wet rated) | 600–800 |
| Basement | 7–8 ft | 4 ft | 6 inch | 800–1,100 |
Keep lights at least 2 feet away from walls to avoid harsh scallop shadows. The Illuminating Engineering Society recommends a spacing-to-mounting-height ratio of 1:1 for a smooth wash[3]. For task areas like kitchen islands, center lights directly above the work surface, not behind your head.
Kitchen Recessed Lighting: Layout and Brightness Secrets
Kitchen recessed lighting demands precision because you need shadow-free countertops. Map your cabinet layout first. Place 4-inch downlights right over the countertop edge, 12–15 inches from the upper cabinets. This positions light where your hands work.
Use these rules for a flawless kitchen glow:
- Install one recessed light for every 4–6 square feet of counter area.
- Add a dedicated light over the sink on a separate switch.
- Layer with under-cabinet LEDs to eliminate blade shadows.
- Choose 3000K–3500K color temperature for a clean look that doesn’t yellow food tones.
A 10×10 kitchen with an island usually needs 8–10 well-placed recessed lights. Wire them in zones so you can dim cooking areas independent from dining sections.
Modern Recessed Lighting Styles for Every Room
Modern recessed lighting now goes beyond plain white baffles. Gimbal trims pivot 30 degrees to spotlight art or sloped ceilings. Shower trims with frosted glass deliver spa-level calm in bathrooms. Square and flangeless trims create a minimal aesthetic that merges with the ceiling plane.
- Baffle trim: Ribbed interior reduces glare; best for living spaces.
- Reflector trim: Polished interior maximizes brightness; ideal for high-ceiling rooms.
- Eyeball trim: Adjustable spotlight; perfect for accent lighting.
- Shower trim: Wet-location rated with a sealed lens.
- Flangeless plaster-in trim: Installed before drywall for a completely invisible frame.
Pair smart recessed lighting with motion sensors and dimmers. Set “movie night” scenes at 20% brightness and “cleaning mode” at full output.
4 Inch vs. 6 Inch Recessed Lighting: Choosing the Right Size
4 inch recessed lighting works best in tight spaces, under cabinets, and in modern kitchens. The smaller aperture cuts a neat profile and creates a ceiling that feels less busy. Use 4-inch fixtures for task lighting, accenting, and rooms with lower ceilings.
6-inch recessed lighting provides broader throw and works well in living rooms, basements, and open-plan areas. They require fewer fixtures to cover the same area but feel more pronounced visually. For bedrooms, 4-inch often wins because it’s softer on the eyes when lying down.
If your home has 8-foot ceilings, 4-inch lights spaced every 4 feet deliver balanced light without overwhelming the room. Reserve 6-inch lights for ceilings 10 feet and higher where you need greater lumen output.
Recessed Lighting Installation: A Step-by-Step Guide
Recessed lighting installation becomes manageable with the right prep. Turn off the breaker and confirm power is dead with a voltage tester. Mark the ceiling cutouts using the template that comes with the housing. Drill a small inspection hole first to check for joists, pipes, or wires.
Rough Wiring and Mounting
- Run 14/2 or 12/2 NM cable from the switch to each light location, leaving 18 inches of slack per box.
- For new construction, nail the mounting frame to joists before drywall goes up.
- For retrofit, choose remodel housings that clamp onto drywall from below.
- Connect the supply wires: black to black, white to white, ground to ground. Use push-in or lever connectors for speed.
Canless and Retrofit Installation
Canless recessed lighting simplifies everything. Spring clips snap the tiny LED disk flush when it is pushed into the hole. Connect the driver box to the power line and tuck it above the ceiling. No can, no light bulb fumbling.
Testing after mounting prevents rework. Light each fixture before patching. If you’re uncomfortable with wiring, hire a licensed electrician—code compliance trumps DIY savings every time[2].
Typical Errors to Avoid in Recessed Lighting Installation
Small errors ruin a recessed lighting layout and waste money. Watch for these traps.
- Ignoring insulation contact ratings: Placing a non-IC housing under insulation causes fire risk. Always check the label.
- Poor spacing symmetry: Lights thrown randomly create a chaotic look and dark gaps. Snap chalk lines to keep spacing even.
- Wrong dimmer switch: Older dimmers buzz and flicker with LEDs. Match the dimmer to the total wattage load.
- Forgetting about joist direction: You may need to adjust fixture location if joists run perpendicular to your planned row.
A study by the National Association of Home Builders notes that well-planned lighting increases perceived home value by up to 3%[4]. Precision during planning pays off.
Recessed Lighting Maintenance and Troubleshooting
LED recessed fixtures require almost zero maintenance. Wipe the trim ring with a microfiber cloth twice a year to maintain brightness. If a light flickers, check the dimmer compatibility first; 90% of flicker cases trace back to mismatched dimmers.
For integrated LEDs that fail prematurely, the driver module often overheated due to packed insulation. Move insulation away or swap to an IC-rated housing. If a canless light falls from the ceiling, the spring clips likely bent during install—replace the fixture rather than forcing it.
Recessed Lighting Costs and Return on Investment
If you hire an electrician, you should budget between $100 and $180 for each installed can. DIY canless kits cost $25–$40 each, bringing a 10-light kitchen project under $400. The energy savings compound. Switching 15 incandescent cans to **LED recessed lighting** saves $75–$120 per year on electric bills. Over 15 years, you’re net-positive while enjoying better light quality.
This Old House’s cost analysis shows that recessed LED upgrades recoup 60–70% of their cost in added resale appeal[5]. Kitchens and bathrooms with layered recessed lighting consistently score higher in buyer walkthroughs.
Frequently Asked Questions
Can I install recessed lighting myself?
If you hire an electrician, you should budget between $100 and $180 for each installed can. For safety, turn off power at the panel, obtain a permit when required, and have your work inspected.
How many recessed lights do I need for a 12×12 room?
Plan for 4 to 6 lights. Using the ceiling-height rule, an 8-foot ceiling means 4-foot spacing. Four lights in a grid often works; add two more if the room has dark walls or heavy furniture.
What is canless recessed lighting best for?
Canless recessed lighting shines in remodels and tight ceiling joist spaces. The ultra-thin design fits under ducts and doesn’t require a bulky housing, making it perfect for kitchens, basements, and closets.
How can I use a calculator for recessed lighting?
Take your room’s dimensions and divide the length and width by your planned spacing. For a 12×12 room with 4-foot spacing, divide both 12 by 4, giving you a 3×3 grid of nine lights. Adjust inward to avoid placing fixtures against walls.
Are LED recessed lights dimmable?
Most are, but you must pair them with an LED-rated dimmer. Check the manufacturer’s list of approved dimmers. Leading-edge dimmers often cause hum; trailing-edge models run quieter.
What size recessed light is best for kitchens?
4 inch recessed lighting wins for kitchens. Its focused beam reduces glare on glossy counters and aligns neatly with cabinet runs. Use 4-inch gimbal trims above prep zones for directional control.
Light Your Space With Confidence
Recessed lighting removes visual clutter and fills every room with clean, even brightness. You now have the blueprint to choose between can and canless, size a 4-inch or 6-inch fixture, space with a calculator, and nail the installation. Don’t let shadows hold your home back. Map your layout, pick the right LED color, and switch on a stunning transformation. Grab a tape measure, mark your ceiling, and start building your perfect lightscape today.
Sources:
- U.S. Department of Energy – LED Lighting (energy.gov)
- National Fire Protection Association – NFPA 70 National Electrical Code (nfpa.org)
- Illuminating Engineering Society – Recommended Practice for Lighting Layouts (ies.org)
- What Home Buyers Actually Desire, according to the National Association of Home Builders (nahb.org)
- This Old House – Recessed Lighting Installation Cost Guide (thisoldhouse.com)